Wednesday, May 26, 2010

sugar cookie cake frosted with thick chocolate buttercream


EJL: What do you want me to bake you for your birthday?
TopHatAndGoggles: Inside-Out Oreos.
EJL: ?

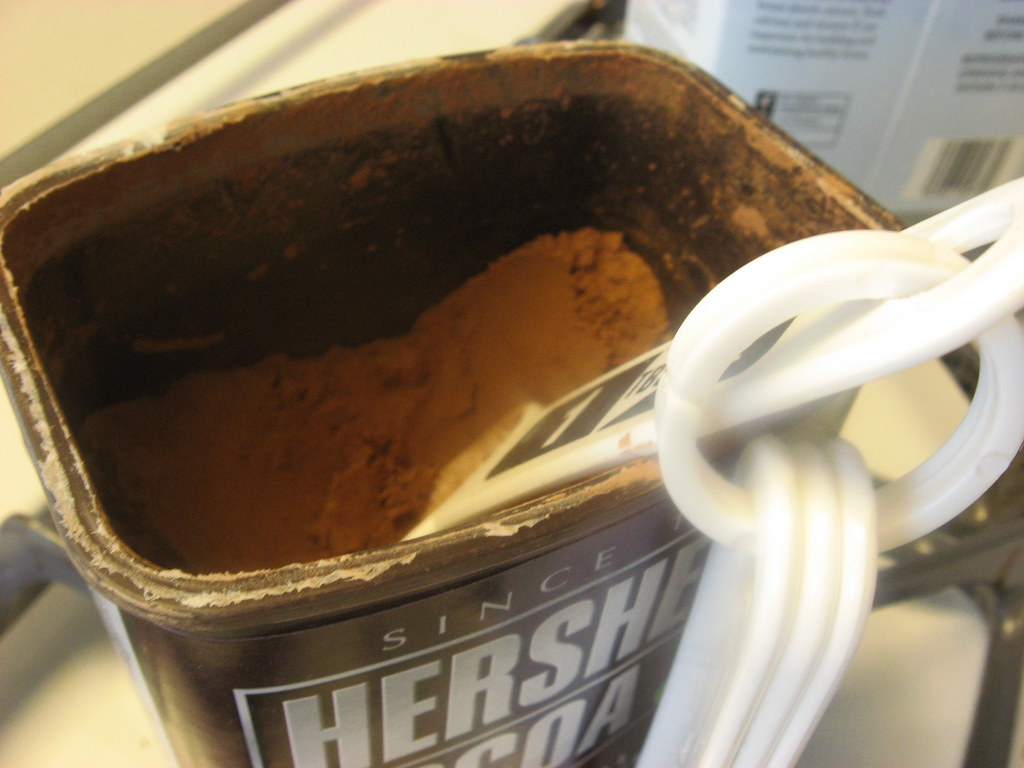
My friend continued in a detailed and loving description of a treat composed of Hershey's chocolate smashed between two sugar cookies. Alright, I said. But I'm making it into a cake. And changing a few other things, too. (I love chocolate. I do not particularly love Hershey's).

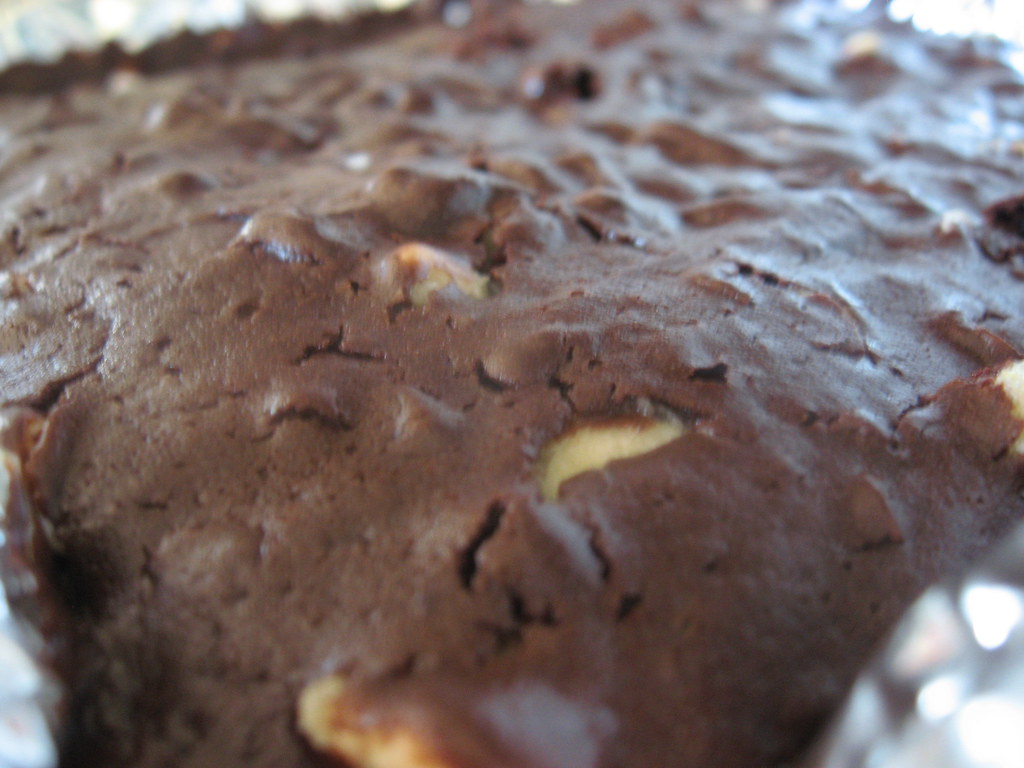
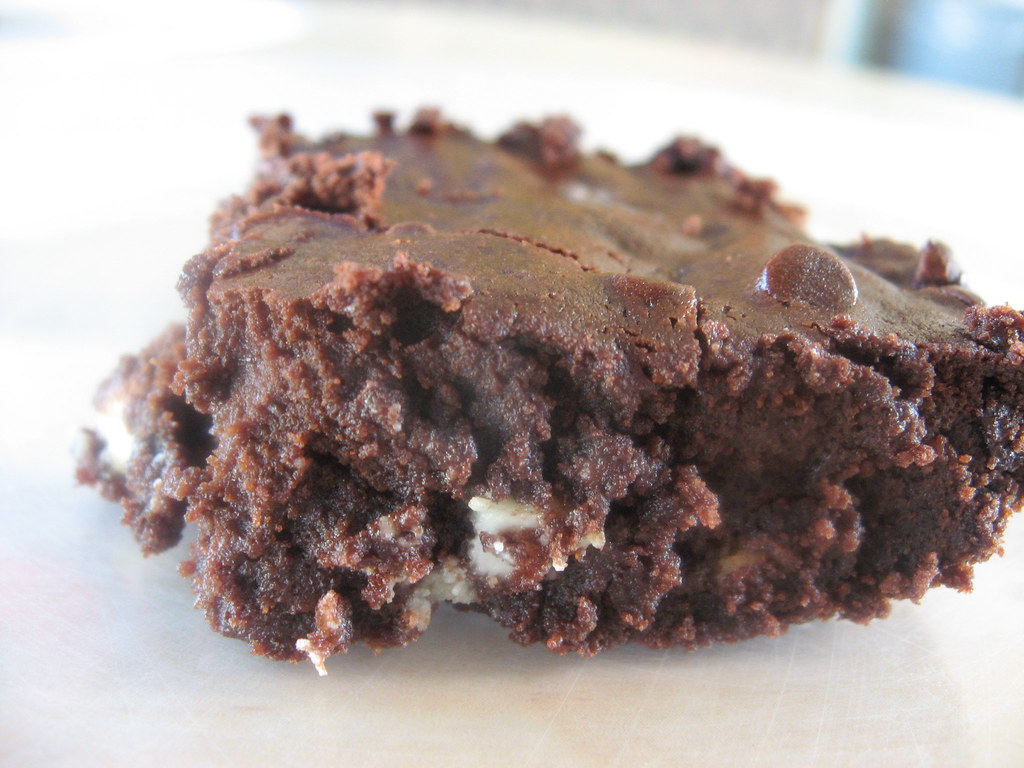
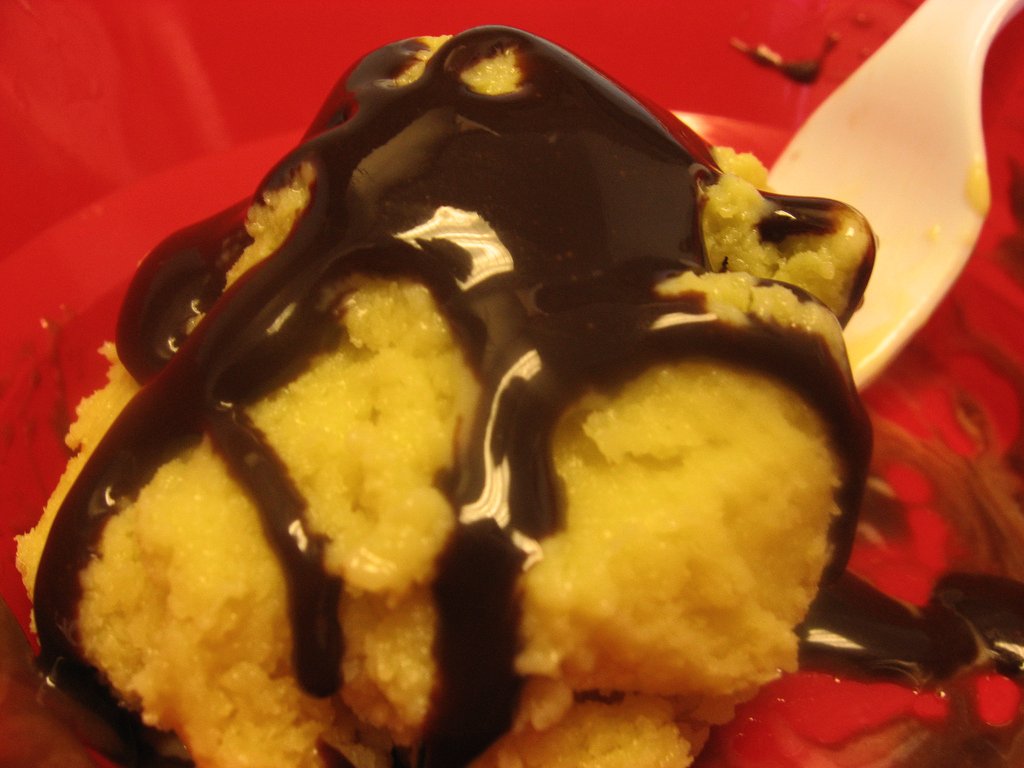
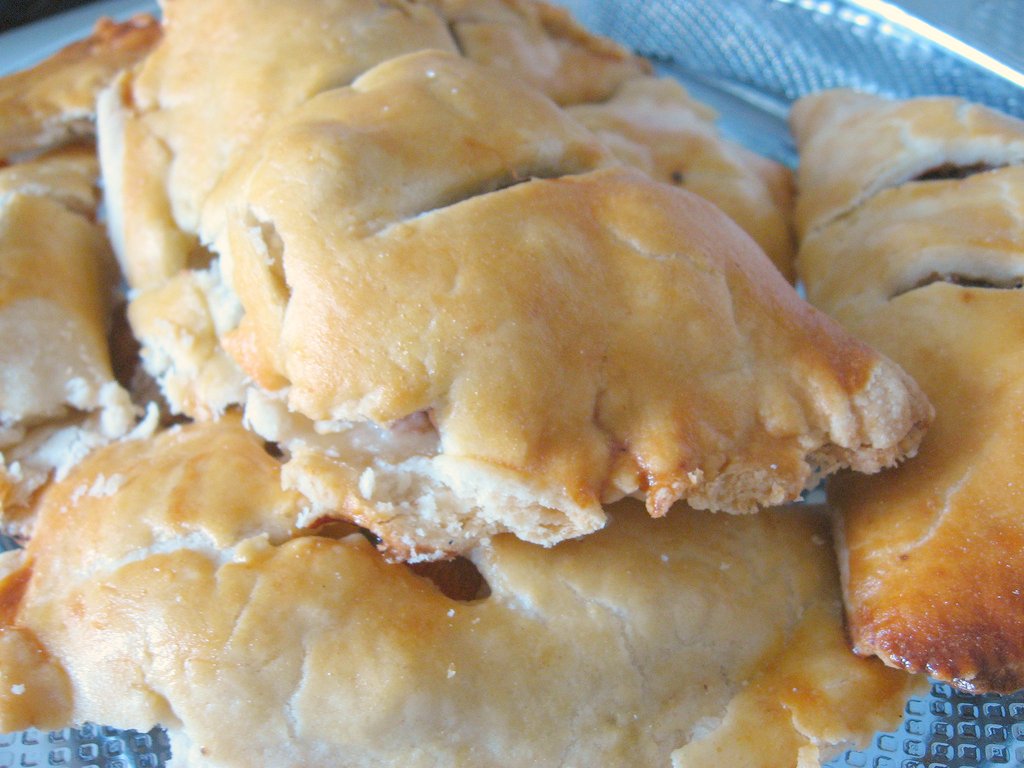
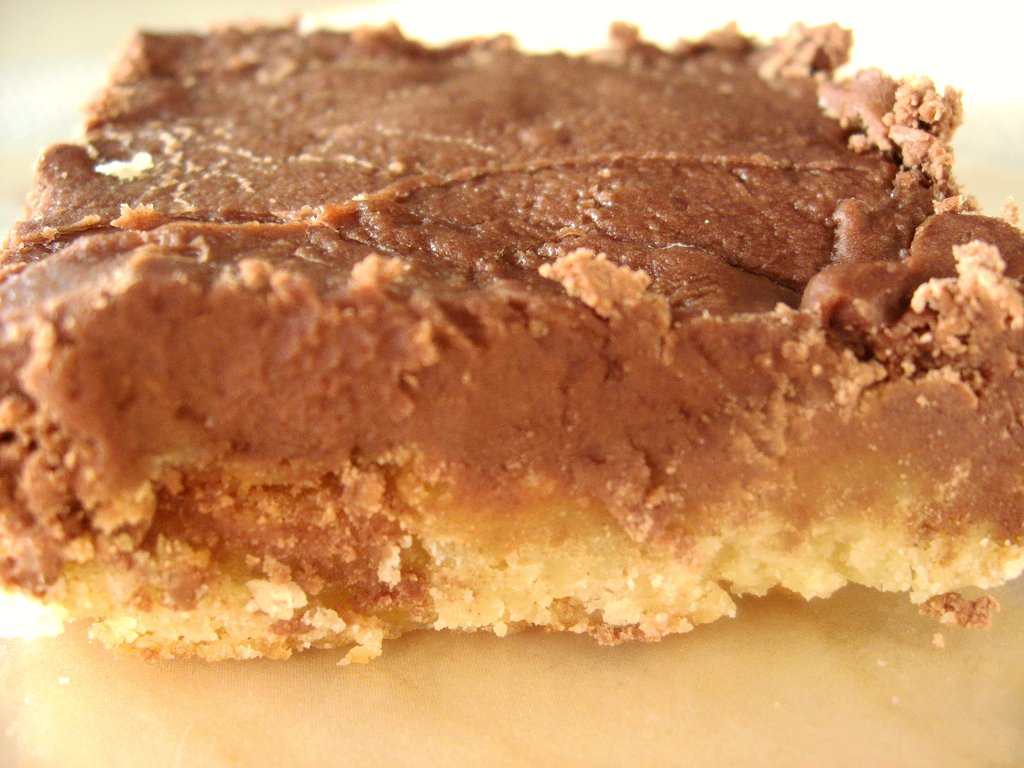
This was a dense treat, a lot more like a bar than a cake. We ate it by slicing off squares and picking them up like brownies. I think there are some small children out there who would enjoy this enormously. TopHatAndGoggles ate a good 3/4 of a pan all by himself, so I think I can safely call this venture successful.

 
Inside-Out Oreo Cake
This one's for Mr. TopHatAndGoggles


1 C butter, softened
1 1/2 C white sugar
1 egg
1 tsp vanilla
1/2 C milk

3 C flour
1 tsp baking soda
1 tsp baking powder

Preheat oven to 350.

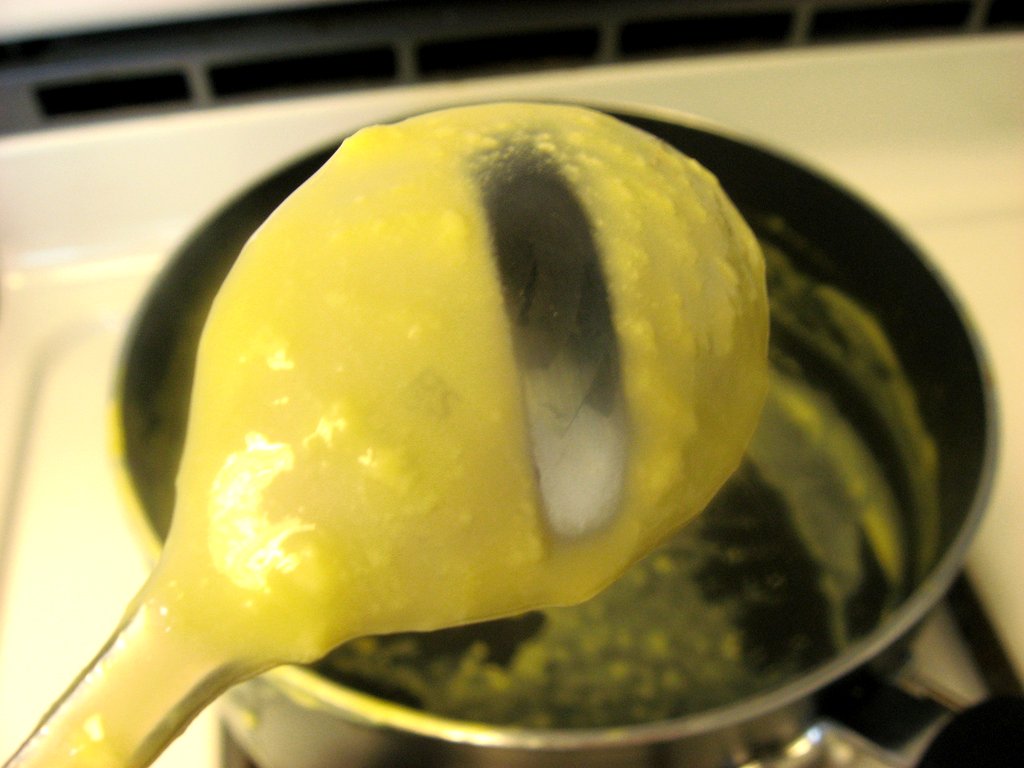
Beat butter and sugar together until smooth. Beat in egg, milk and vanilla until fluffy. Add dry goods.

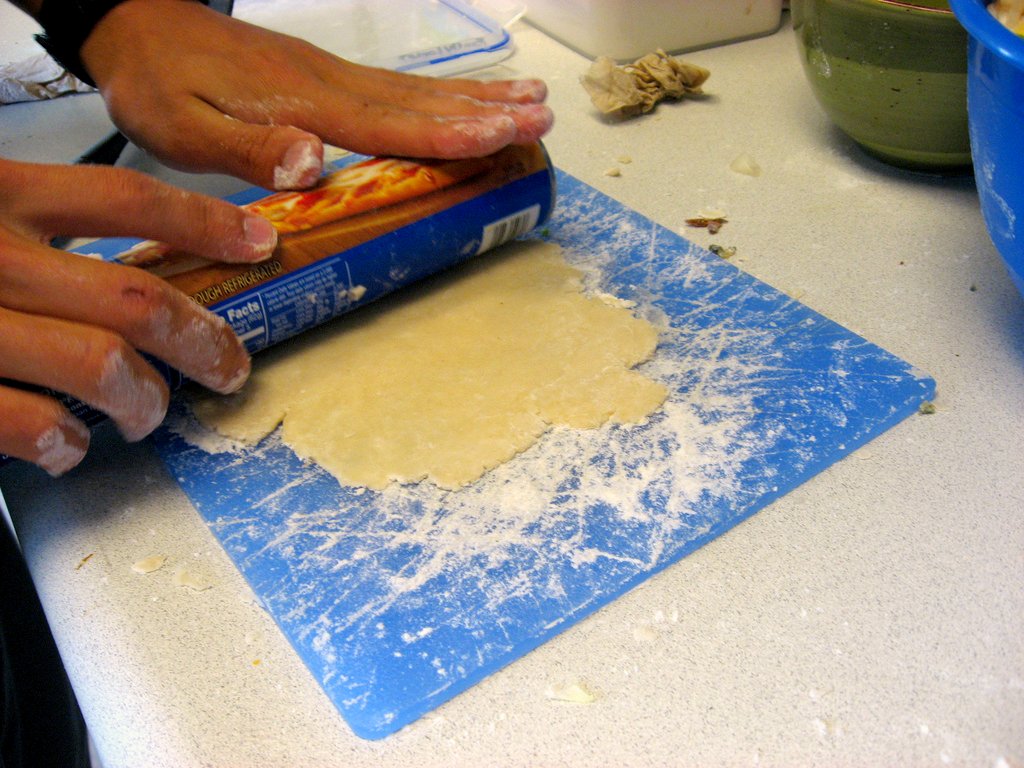
Press into two 8 x 8 cake pans. It will be sticky. Bake for 30-35 minutes or until golden. The centers will fall in.

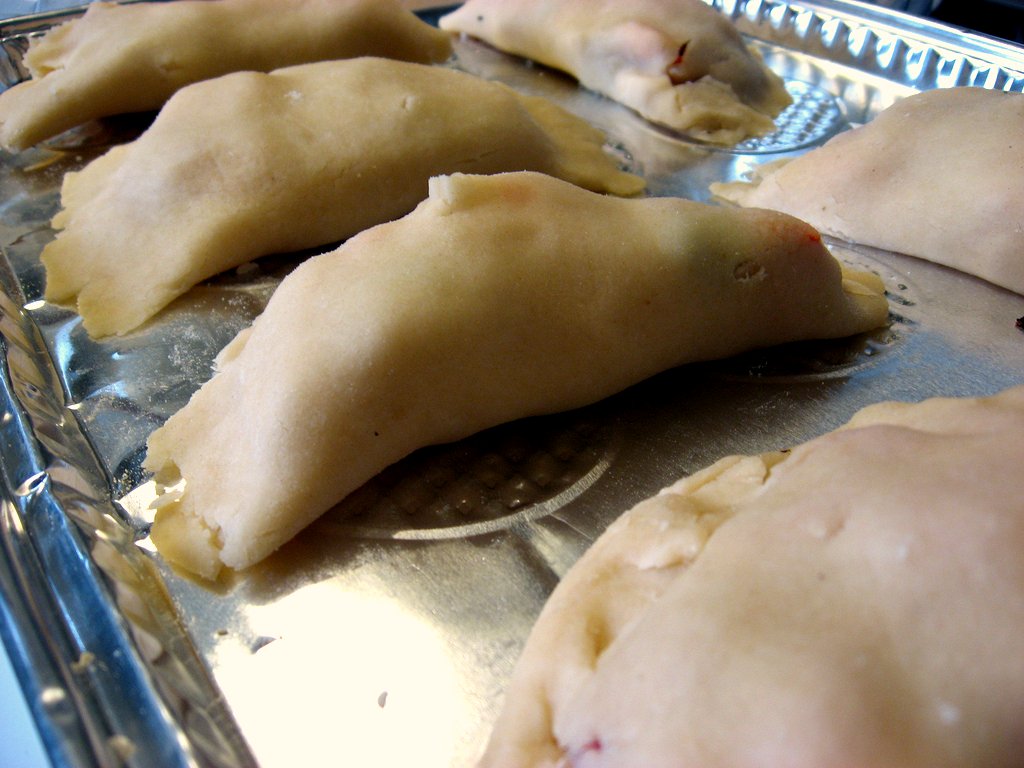
Let cool for a few minutes and then frost while it's still warm. Ideally, the frosting will melt and meld with cake into a tasty solid bar of chocolate and cookie-cake.


My favorite cake frosting is the buttercream. I start with a very basic recipe: 1 Tb butter to 1 C powdered sugar to 1 Tb milk. With that basis I add whatever other flavorings I need (vanilla, chocolate, pomegranate, what have you) and taste test (the best part) until I have the right ratios.


Chocolate Buttercream Frosting
2 Tb butter, soft
2 C powdered sugar
3 Tb milk (extra Tb because of the chocolate)

1/2 tsp vanilla

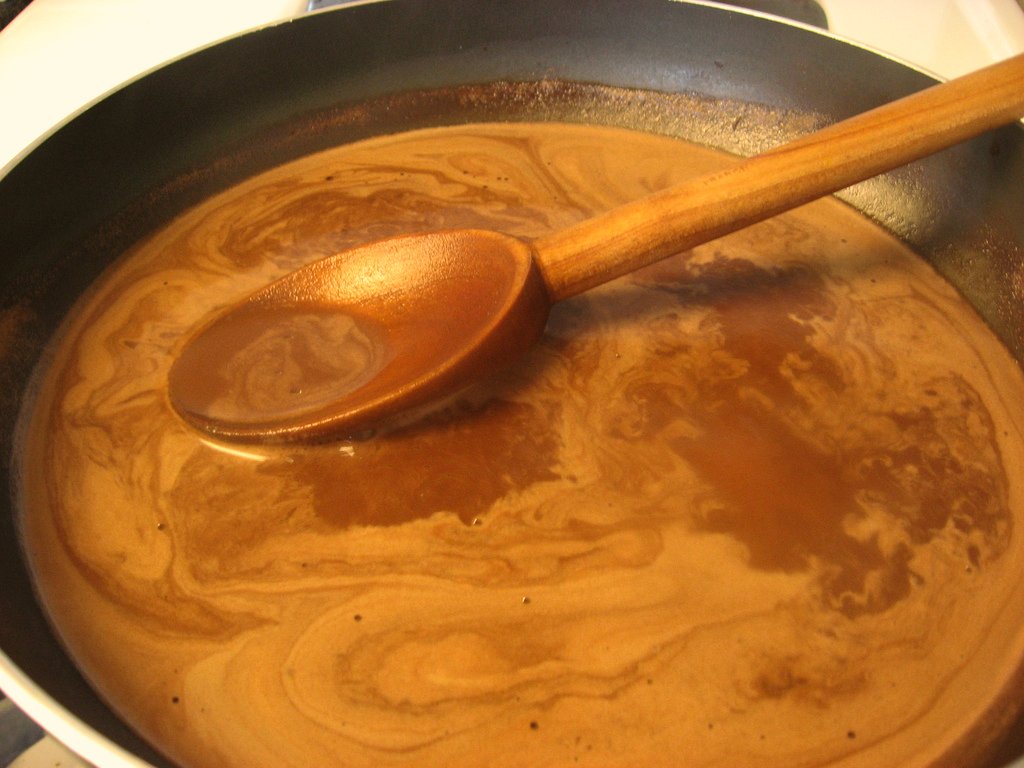
1 C chocolate, melted

Beat all ingredients together. Taste and alter. (I made this particular batch very dense (aka didn't add very much extra milk) which I think worked very well for this cake).


Almost gone...

My buttercream frosting-tasting game plan:
if it tastes too manufactured and sweet and ick (aka there is too much powdered sugar), add more butter;
if it's too thick, add milk;
if it's not sweet enough add powdered sugar AND a little milk (the ratio between these depending on the thickness of frosting);
and almost always add a little vanilla, too, because it makes the other flavors stand up and shout.
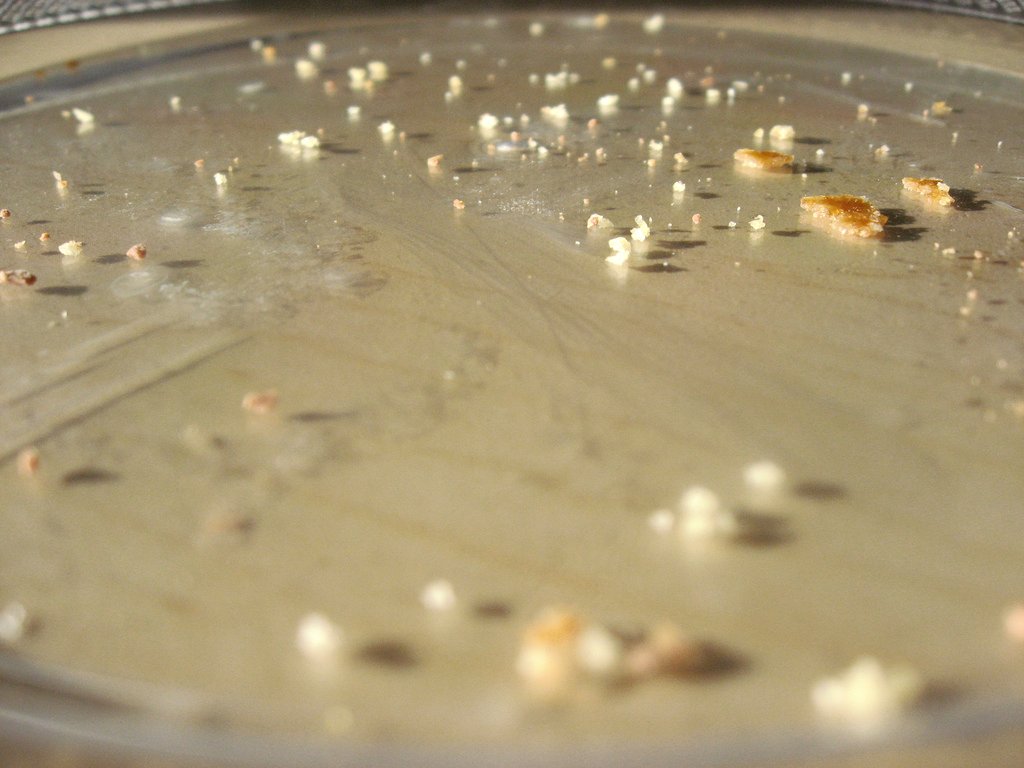

Nothin' but crumbs.

Do you have any other desserts fashioned off nostalgic childhood favorites? I have a great desire to make a Hostess Cupcake one of these days.

Monday, May 24, 2010

apricot jam spiced with ginger and sweetened with honey


I wanted to make the Snark apricot jam for her birthday, because she loves apricots. However, the Snark has a birthday in the melty ends of winter, when fresh apricots are few and far between. This was an issue.

Actually, you know what? I'm lying. It wasn't an issue. It was a challenge and it was fun.

I used dried apricots and a big bottle of apricot "nectar" (basically really nice juice) for flavor; a mild apple and a pear for texture; crystallized ginger for a bit of a kick. A little hesitantly, and after some internet reading, I bought some packets of powdered pectin. I've never made jam before; the closest I've come is a few jars of lemon curd. I wasn't sure this would turn out at all, but it did well enough.


Next time, if anything, I think I'd cook it a little longer and let it get even softer and less chunky. I did this between classes in an attempt to get it to the Snark within the actual confines of her birthday day, so there were some time constraints here I can probably avoid in any future attempts.

It came out tasty; sweet and a little spicy. I think I can certainly improve on it (or one of you can), but I'm quite happy with the first attempt.

Winter Apricot Ginger Jam
1/2 tsp powdered pectin
1/4 C sugar
1/4 C honey
1 apple, peeled and diced
1 pear, peeled and diced
6 oz. dried apricots, chopped
1/2 C crystallized ginger, chopped
4 C apricot juice
2 C water

Mix pectin, sugar, and honey into a large pot. Add all of the other ingredients and then boil until the jam is the thickness you want (at least an hour).

Clean three small mason jars well (including their lids and seals) in hot soapy water. Put on a second pot of water to boil. Ladle the finished jam into the jars and screw on the lids using a clean towel. Place the jars into the boiling water, making sure they are completely submerged. Boil 10-20 minutes, then remove from water. Let them cool.

To check if the jars are good: after they cool, poke the center of the lid. If it pops up and down, it didn't seal properly. If it's flat, you're good.

Supposedly, these jars can sit for several months without going bad. Once you open the jam, you have to refrigerate it.


Look at my pretty oat bread toast! And the jam, too, of course...

Has anyone else made jam or other fruit spreads before? With what fruits? Did you use pectin? How did it turn out for you?

Saturday, May 22, 2010

fall-apart pork, carnitas-style


I haven't worked much with pork before, but pulled pork is one of my very favorite dishes to eat. When I saw a recipe for carnitas while archive-binging through Homesick Texan's lovely blog (her delicious looking pictures, the simple if time-consuming recipe), I immediately bookmarked it for later use. And when 24 Hour Comics came along and GL asked me to feed folk, I jumped on this recipe as quick as I could think yum. (One, because I love my pulled pork; and two, because pork butt is a delightfully cheap cut of meat).

This recipe is about as simple as it looks. You put pork shoulder, orange juice, salt and water in a pot and cook it. It takes several hours, but whenever I have an excuse I'm spending several hours in the kitchen anyway, and it's not like this needs much watching. First the pork cooks and softens in the boiling water, then, as the liquid evaporates, the pork starts to fall apart in its own delicious fatty juices and cook and soften and fall apart some more.

I made two recipes of this (6 lbs of pork) and by itself (no tortillas or rice or other sides) would have fed eight people well. With sides, it probably would have fed ten or twelve.

Homesick Texan's Houston-style Carnitas
http://homesicktexan.blogspot.com/2008/07/carnitas-houston-style.html
3 pounds of pork butt, cut into thick one inch strips (I forgot to do this, so I had to drag the big things of pork out of the water, cut them, and toss them back in again. Do not live (or cook) by my example)
1 cup of orange juice
3 cups of water
2 teaspoons of salt

Place all ingredients in a large pot. Bring to a boil and then simmer uncovered for 2 hours. (She says here not to touch the meat. Does anyone know why? I did move it around a bit, because there was far too much meat for my little pot and I wanted it all to cook evenly. Everything seemed to turn out fine).

Turn up the heat and let the liquids all evaporate. This took about an hour. Stir occasionally to keep things from burning. When it looks brown and delicious, you're done. I don't think the ending point of this dish is a very fine line, so don't worry about it.


These carnitas were so tasty and fall apart tender. All I had to do was stir a bit and they, as advertised, fell apart. The flavor was deep and deliciously porky. I am definitely making this again.

If you want to stay close to the culture this delicious pork comes from, serve with warm tortillas and one of Homesick Texan's tasty green sauces. I ate this particular batch on dinner rolls hot out of the oven; and then later on top of the Baked Sweet Potato and Asparagus Scramble and (later still) mixed in with my Pea and Sweet Potato Curry (both coming soon to a blog near you). 


I think this would also be delicious if you tossed in a few cups of chopped tomatoes a half an hour or so before you were done cooking, then squeezed on some lemon juice and sprinkled on some capers at the end and served it over thick noodles, like a variation of spaghetti alla puttanesca.

I'd also be made quite happy with a couple of carrots and pearl onions tossed into the pot to cook and then it all served with some mashed potatoes and sauteed greens on the side.

This is a fairy easy and very delicious platform for all you carnivores out there. How would you want to eat it?

Thursday, May 20, 2010

intensely dense, rich, decadent chocolate brownies


I am an Alton Brown fan. I like science with my cooking, or cooking with my science, and entertainment with both of them. A lot of the recipes you see on here and a lot of any cooking science I might wax on about probably come from his show Good Eats or his baking cookbook (which I love. Best pie dough ever, by the way).

So this is an AB brownie recipe (from the show, not the book). And no, not even with AB can I cook without altering a few things. I wasn't too sure about the 300 degree oven he wanted me to bake this in, but I figure I have no idea what temperature my dorm house oven cooks at anyway, so I might as well try dialing it to 300 and seeing what happens (they turned out fine). This recipe didn't seem nearly chocolate-filled enough for me, so I added more. A cup of chocolate chips more. I'm on the far far end of the bell curve describing the population's desire for intensity of chocolate in desserts, so beware.When discussing names, The Snark volunteered (a great compliment from a traditional milk-hater) "Lactate Necessitating Brownies."

I also switched out the sugar for honey, to add a little bit of flavor and texture (and to get rid of the giant thing of honey I got for 24 Hour Comics (Almond butter and honey on ginger-orange scones? I highly recommend this). Anyway). AB didn't include any leavening, and I'm sure he has his reasons, but the brownies I had in mind definitely needed a bit more lift than the eggs alone would add, so I tossed in some baking soda.


Brownies
Adapted from Alton Brown's Brownie recipe (foodnetwork.com)
4 large eggs
1 C honey
1 cup brown sugar
8 ounces melted butter, salted
1 1/4 cups cocoa
2 teaspoons vanilla extract
1/2 cup flour
1/2 tsp baking powder
3/4 C mini dark chocolate chips (I might even up this more, if, say, I was making this for my mother, who is worse than I am with chocolate. Or better)
1/4 C white chocolate chips (optional, but they're pretty. And nearly every ingredient in my recipes is optional)

Preheat the oven to 300.

Beat eggs until fluffy. Add both sugars and vanilla. Add cocoa, flour, and baking powder. Mix in chocolate chips.


Pour into greased and floured pan. Bake for 45-50 minutes or until a toothpick poked into the center comes out clean and not goopy (it will still be moist). Let cool. Devour with a tall, cold glass of milk.

Wednesday, May 19, 2010

"24 Hour Comics" menu

From 8 a.m. Saturday morning to 8 a.m. Sunday morning, a variable number of university students, some trays of food, art supplies, laptops, and sleeping bags lurked in a spacious art classroom. This was a fantastic deal of fun. The traditional "24 Hour Comics Day" asks masochistic artists to create a 24 page comic (or 100 panel webcomic) in 24 hours. We skewed the "rules" a bit and also turned out poetry, sections of novels, short stories, math homework, and power point presentations.

I, to my great glee, was asked to feed the starving artists we were reeling in for those 24 hours. And I did, I think rather to excess.

24 Hour Comics Menu
Baked Sweet Potato and Asparagus Scramble
Airy Blueberry Muffins
Budapest Coffeecake Muffins
Ginger Orange Scones
Blackberry and Apple Cream Cheese Coffeecake
Dinner Rolls
Pea and Sweet Potato Curry
Raita
Carnitas (Slow Roasted Pork)
Pasta with Parmesan and Asparagus
Garlic Bread

When I post these to the blog, I'll update the links here.

Thursday, May 13, 2010

ice cream with chocolate sauce, made dairy-free, sucrose-free, and gluten-free


This is the first of what will be a recurring series of "Dinosaur" recipes, which are anything I make that my friend Dinosaur can eat. On her no-no list is wheat (but gluten is OK), processed sugar (or anything with a high glycemic index), dairy, shrimp, strawberries... there are a lot more, but I think that makes my point. One of the things she says she misses most was ice cream, so when she came down to visit, we decided to try our hands at it.

On our first attempt we used far too many egg yolks, and even those of us without crazy sensitivities found it overwhelmingly rich; so we altered our recipe until we got a much lighter, tastier ice cream. The texture was not as good as the first batch, but it was still quite creamy for rice milk ice cream and the taste was very good. The chocolate sauce, I think, was the real winner in this situation. I think I'll be using this recipe from now on for my own non-Dinosaur chocolate sauce needs, because it was delicious.

This is still a rather rich dish for her, even with all of her off-limits ingredients kept out of it, so it will remain a once-a-blue-moon kind of treat. Still, I'm thrilled with the fact that we managed to find a way create Dinosaur-friendly ice cream, because, really, what's a good summer without an ice cream cone now and then?

P.S. Cones coming soon, with any luck.


Dinosaur Ice Cream
4 egg yolks
2 C rice milk
1/3 C agave (we used blue. It's the first time I've used agave. Does anyone know what the differences between types are?)
1 1/2 Tb vanilla

On the stove top, warm the rice milk, but do not boil. Beat the egg yolks and agave together. Temper the yolks with the milk.

Tempering is a necessary step when mixing eggs with something hot. You add small amounts of the hot liquid (just dribbles and splashes) to the egg yolks and beat it in quickly. The aim is to slowly raise the temperature of the egg yolks without curdling them. When you have about 1/3 of the liquid mixed with the egg yolks, they are generally a hot enough temperature that you can then add the whole egg mixture to the hot liquid in the pot without the eggs scrambling on you.

Cook the egg and rice milk mixture for 10-20 minutes. Normally in ice cream making this would be "until it coats the back of a spoon" (meaning when you dip a spoon in and then wipe the liquid off the back of the spoon, the metal will stay cloudy and coated with a thin layer of liquid), but this ice cream never seemed to reach that point.

See this spoon? This is the back of a spoon that is NOT coated. But it turned alright nonetheless.

Let the mixture cool, then add the vanilla. If you have an ice cream maker, follow the manual's instructions (usually this is pouring it into a cold mixer and letting it go 20-30 minutes). If you don't have an ice cream maker (we didn't), pour the liquid into a metal bowl and stick it in the freezer. Every few moments, open the freezer and stir the ice cream, making sure to scrape down the sides. After about a half hour, you can stir less often. The longer you let it set, the firmer and icier it will be. Choose what consistency you want and serve it then. This ice cream is best fresh.

If you wanted to flavor the ice cream, you could easily add some cocoa powder, or crushed mint leaves, or smashed fruit, or whatever you wanted.

Dinosaur Chocolate Sauce


1/2 C rice milk
2 Tb agave
2 Tb cocoa powder, unsweetened

Heat in a saucepan, stirring constantly, until thickened to the consistency you desire. Serve over ice cream, or fruit, or waffles, or...


Do any of you have crazy food restrictions? How do you deal with them in your life and food?

Tuesday, May 4, 2010

thinly sliced beef, root vegetables, and peas in a traditional flaky pastry


With this recipe, I went with tradition. This is not my normal path in cooking. Tampering with recipes is often the best part. But Cornish pasties have tradition and history and they have knockers--anyway if I tampered with them much I wouldn't be able to say I'd made real Cornish pasties. Though some might argue that because I'm not Cornish, and I did tamper with them a little, and because these were for Easter frolicking and not tin miners... but we ignore such people, don't we?

The "traditional" Cornish pastry has a thick crust. It's shaped like a half moon and crimped along the curved side. Why? The story goes that the tin miners, covered in mine dust and arsenic, would hold the pasties by the thick crust to avoid getting the dirt and poison all over their lunch. After they had eaten down to the rim, they would throw the crimped crust down the mine shafts to appease the knockers, fey creatures who scampered about the mines stealing tools and causing mischief. (The knocking sound of the earth and timbers shaking before a tunnel collapsed were attributed to the knockers, who were either causing the disaster or warning of it).

The normal filling is thinly sliced beef, onions, and rutabagas (I think; they kept calling them Swedish turnips, but I think rutabagas were what they meant). I broke the rules and added carrots and peas, but I figured that wasn't too large a lapse. The filling is put into the pastry raw. Yes, even the beef, which I wasn't too comfortable with. The baking time is quite substantial, though, and the meat sliced very thin, so there isn't actually anything much to worry about. Sometimes a thin wall of pastry was added to split the insides into two parts so that a second, sweet filling (dried fruit was common) could be added for dessert. The initials of the lucky guy who got this for his lunch were carved over the dessert side, so he knew where to bite first.

If I make this again, I think I will part ways with tradition and add more spices. I might even marinade the meat. I also think experimenting with the dessert pocket idea would be quite fun. These were tasty (I was pleasantly surprised by the depth of flavor the rutabagas gave them) and quite filling, but they could use a little more character. But after a long hike, or a day in the tin mines, they would certainly hit the spot.

Cornish Pasties


1 onion, thinly sliced into cresents
1 rutabaga, thinly sliced
1 potato, thinly sliced
1 carrot, thinly sliced
1/2 lb beef, thinly sliced
1/2 C peas

4 C flour
1 tsp salt
1 C shortening
1/2 C butter, salted
water as needed

1 egg
2 Tb milk (I used buttermilk, because I had it, but milk or water would work fine)

Knead the shortening and butter into the flour and salt. (You're going to get dirty. It's okay. Have fun. Paint flour stripes on your cheeks and try to turn the noses of your friends white). Add water until it forms a thick dough that holds together.

Stash the dough in the fridge while you assemble the filling and chop everything. We want the fats as cold as possible, because we don't want them melting while we roll them out. Whisk the one egg and 2 Tb milk together. When you're done, retrieve the now-chilled dough.

Sprinkle a flat clean surface with flour. Take a chunk of dough and roll it out into a thin circle. (Yes, we used a Pillsbury pizza dough can for our rolling pin. Welcome to college.)


Also: those hands? Those are the hands of the awesome awesome GS, one of my favorite brilliant polymaths, and a wonderfully nice guy to boot. He did so much of the work on these.

On the rolled out dough lay a small layer of veggies and a small layer of the raw beef. Fold the dough over and crimp the edges. Transfer it to your baking pan. Brush on the egg wash so they'll bake up golden and cut some slices in the top so that the steam can escape.

Repeat, repeat, repeat.


Bake for 15 minutes at 400 degrees, then drop the temperature to 350 and bake for 20-25 minutes more. They're tasty piping hot or cold.

Have any of you ever had a real Cornish pasty? What other stuffed foods are you fond of? Or traditional UK fare?