Sunday, October 9, 2011

garlicky hummus and hot flatbread

IMG_0496

My friend, Miz Agatha (if you understand that joke, good for you; next time my coffee machine breaks, I guess I'm calling her), is the lady of hummus. She's talented at a great many things, including making me laugh out loud, but hummus is one of her masteries. She brought this to a party and I demanded the recipe with love and awe. She informed me there wasn't one.

Instead, she emailed me a list of ingredients (garbanzo beans, tahini, garlic, olive oil, cumin, coriander/lemon) with notes like "tahini is awesome. Hummus without tahini is like guacamole without cilantro. No."

According to Miz Agatha, her hummus is so famous (it has converted people to the way of the hummus, and I see why) is because she goes so heavy on the garlic. Don't be shy; add lemon if you overdo it.

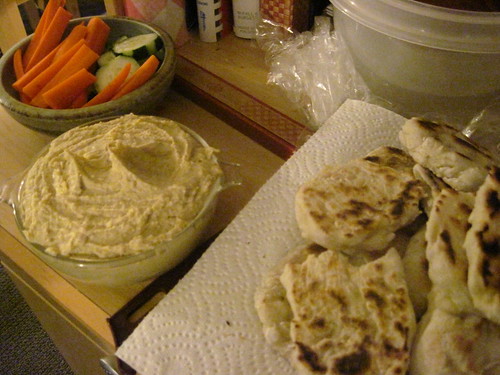
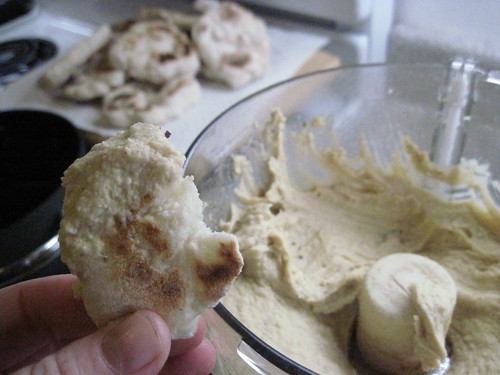
She also brought a giant bowl of flatbread, which was nearly as awe-inspiring as the hummus, which is saying something. The flatbread has few ingredients, but a delicious flavor, a little tangy from both the yeast and yogurt in the dough. It can be fried in olive oil, but I did mine in an ungreased skillet and they were delicious (as well as healthier).

IMG_0493

Miz Agatha's Hummus

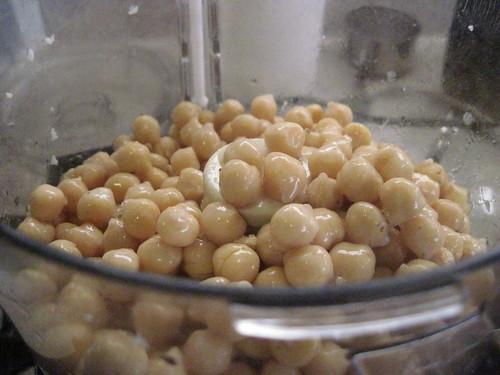
29 oz chickpeas/garbanzo beans, drained
1/3 C tahini (this amount makes it fairly creamy; lessen if you like your hummus coarser)
1/2 C olive oil
5 cloves garlic (I actually used seven; it was delicious and a touch spicy from it. But that's a little much for most people).
1 1/2 tsp cumin
1 1/4 tsp coriander when no lemon juice is available
salt and pepper

IMG_0485

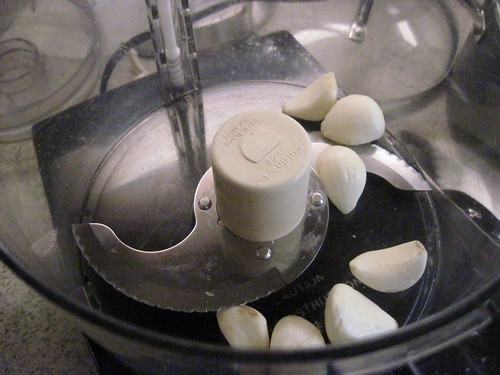
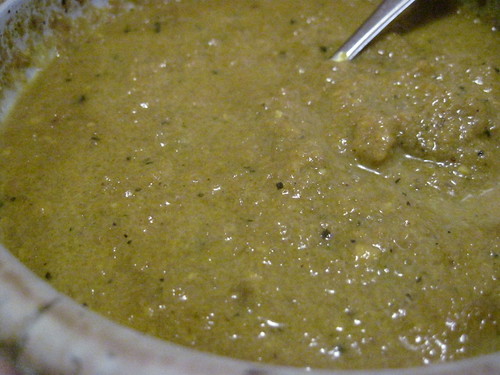
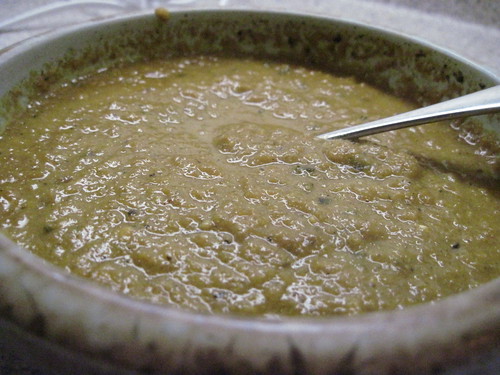
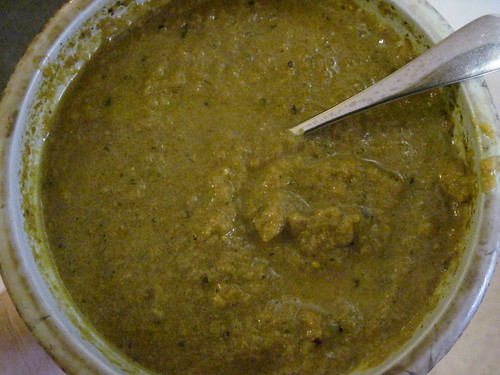
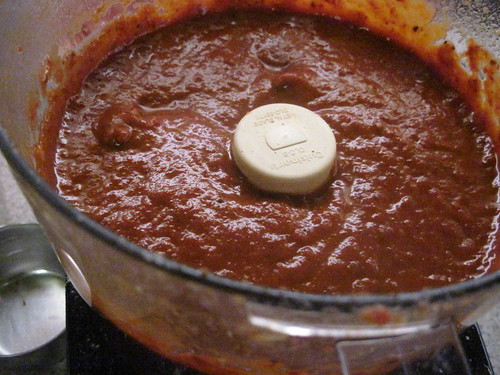
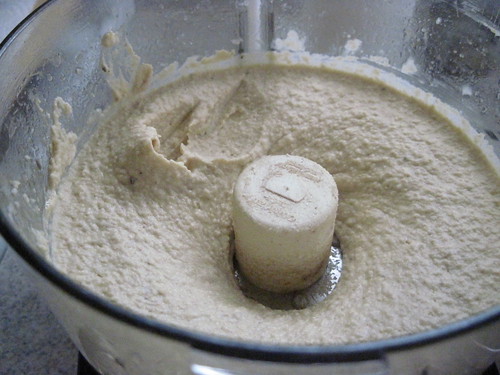
Toss the garlic in a food processor, and mince them with the metal blade . Then, add all the other ingredients and whirl them until smooth. Adjust to taste.

IMG_0486

More tahini will make it creamier; more oil, oilier (shocking!); more garlic, spicier (and make sure you mince it by hand before adding extra); more chickpeas, chunkier, grainier, and heartier. This batch was fairly heavy on tahini, so it was quite creamy.

IMG_0488

Easy, Tasty Flatbread
http://allrecipes.com/recipe/bazlama---turkish-flat-bread/detail.aspx

IMG_0495

1 (.25 ounce) package active dry yeast
1 tablespoon white sugar
1 tablespoon salt
1 1/2 cups warm water (110 degrees F/45 degrees C)
1/2 cup Greek-style yogurt
4 cups all-purpose flour

Mix the yeast, sugar and salt in the water. The water should feel lukewarm and not hot. If it is too hot, it will kill the yeast. It is better to have water that's too cold and sluggish yeast, than hot water and dead yeast. These little fellows are what will rise your dough, and they're very important. Treat them kindly!

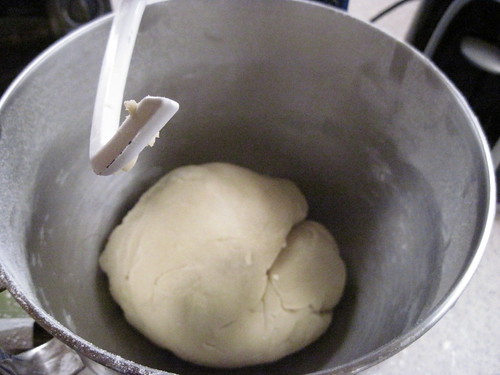
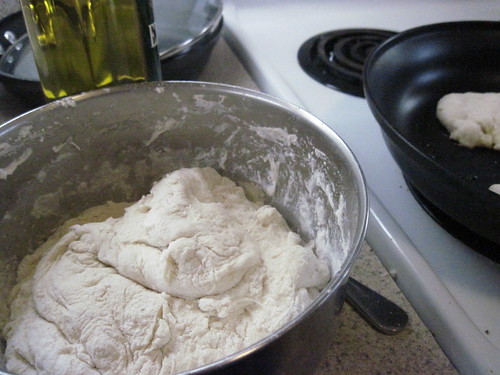
Now, add the yogurt and then the flour to the bowl and stir until it all comes together. For me, it was still quite sticky and shaggy at this point, so I dumped it onto a very well-floured cutting board, dumped some more flour on top of it, and kneaded it in. I think I ended up adding about an extra 1/2 C of flour, but your dough's flour needs will depend on the weather, your flour, the whims of the dough gods... Just add enough to where it's still soft, but doesn't stick to your hands. Roll it into a ball and place in a clean bowl to rise for about three hours.

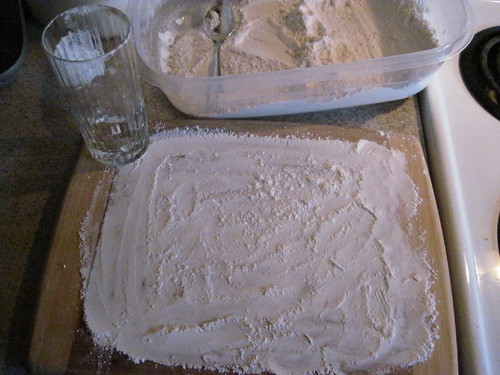
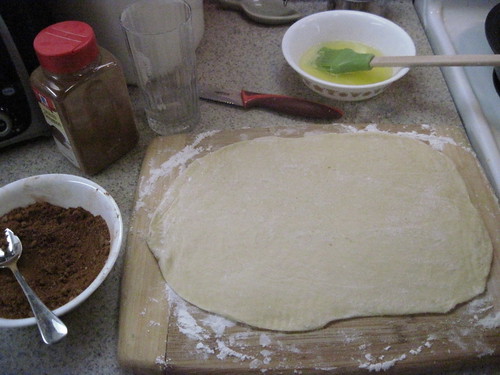
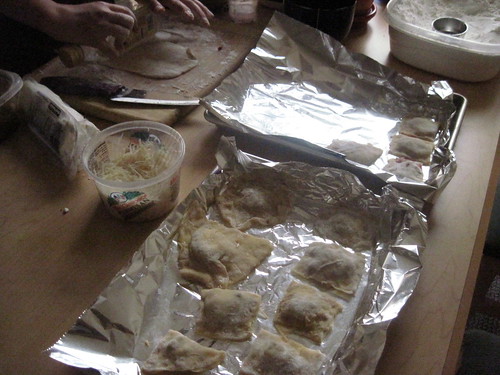
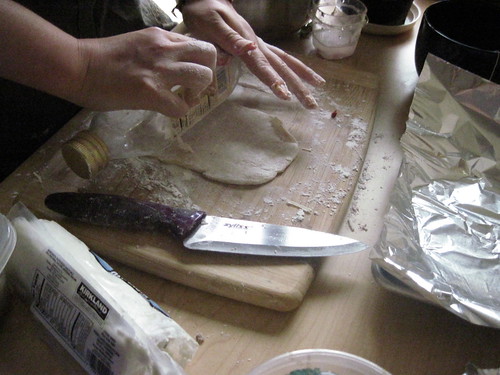
When your dough has risen, get a cutting board and a rolling pin. Tear off a hunk of dough and roll it out thin. Take this thin round and put it to the side to rest for 15 minutes or so.

(I fried some without letting them rest and they were still good, but not quite as puffy).

IMG_0484

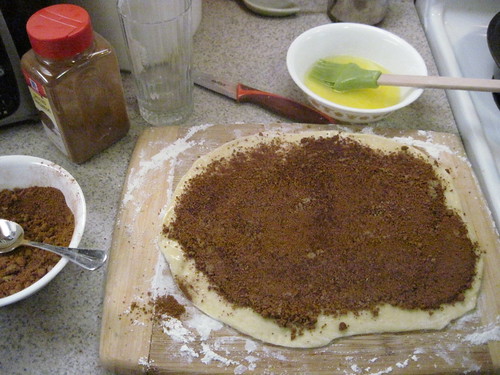
If you don't have a rolling pin, or an empty wine bottle or one of those cylindrical Pillsbury dough to use as a rolling pin, there are other methods. I actually preferred to stretch them by hand, because it involved not having to clean a rolling pin, and it was easy and fun. I would just grab a hunk of dough (maybe the size of an apricot) with lightly-floured hands and stretch it out, turning it in my hands, until it was fairly thin. Holes are okay; the bread will puff up beautifully anyway.

IMG_0490
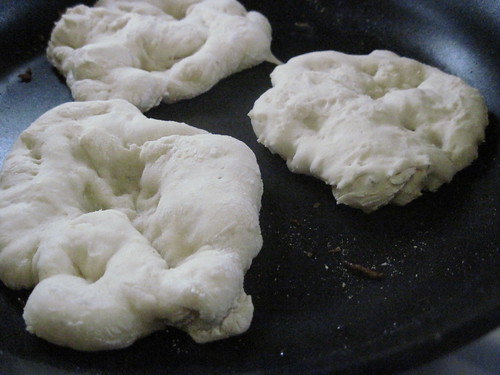
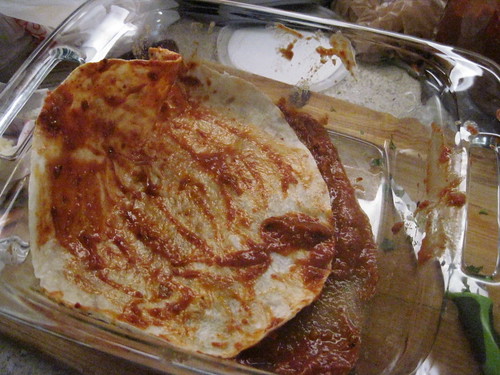
puffed up dough after about a minute of cooking

In an ungreased skillet, cook the dough rounds about a minute or two on each side. If your bread is particularly thick, cook a little longer.
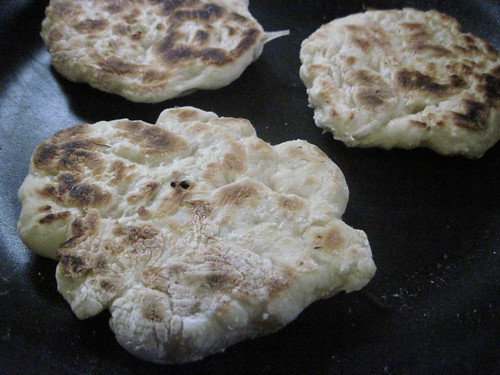
IMG_0491

Eat with hummus.

Saturday, October 8, 2011

vanilla cake with two bananas

IMG_0471

This was an attempt at banana bread, but while it came out sweet and vanilla-tinged and tasty, there wasn't enough thick banana flavor to call it that. As one of my housemates said, all affection, "It's not banana bread; it's vanilla bread that happens to have bananas in it. I mean that in the best possible way."

IMG_0468

The batter was delicious. I am not insulting the bread; it was tasty, warm and steaming from the oven, flecked with chunks of melting banana and run through with honey and brown sugar sweetness. But the batter, oh, the batter; it was delicious. I have a hankering to make it into ice cream.

But that would ruin the point of this recipe, which was decided upon while walking home in the rain. I wanted something warm and sweet, and just a little sticky with brown sugar. I sorted through a small corner of the vast collection of banana bread recipes, in my books and in the internet, and decided on this one, from Smitten Kitchen. Nothing in the recipe particular piqued my interest--except her addition of bourbon (but you see, that would involve being over twenty-one). However, nearly everything I've made off her site has been taste-bud-blowing fantastic, (her chocolate cake with peanut butter frosting, by the grace of all things good), so I decided to give it a whirl.

IMG_0472

The bread here is soft and just slightly moist. It's not nearly as dense as most banana breads (probably due to its lack of banana) and feels a lot more like a baked good and less like a floured lump of baked banana. Though I added more sugar than the original recipe, I didn't find it to be overly sweet at all.

I wish it had more banana, but, then, that's all my fault. She asked for 3-4. I had 3 when I started this recipe, and only two made it into the bowl. However I added extra butter to make up for it.

IMG_0470

Vanilla-Banana Bread

2 very ripe bananas
1 cup melted salted butter
3/4 C light brown sugar (less if you don't like it sweet)
1/4 C honey
1 egg, beaten
2 teaspoon vanilla
1 teaspoon baking soda
1 Tablespoon cinnamon
1 1/2 cup of flour

Dump the bananas directly into the bowl and smash them a little with a wooden spoon; don't worry too much about it. Chunks of bananas are good.

Next, mix in the mil, sugar and honey until smooth. Add the egg, vanilla, and cinnamon and beat some more. Finally, dump on the flour and baking soda and stir as little as possible until it is just combined.

Pour into a greased 8x8 baking dish (of a loaf pan, if you'd like) and bake at 350 for 30 minutes.

IMG_0481

I don't know how long it keeps. It was gone the next morning.

Friday, October 7, 2011

cinnamon rolls

IMG_0457

I had an odd learning slope into the realm of baking. The first thing I ever baked alone and from scratch was blueberry coffeecake. The second was a batch of yeast-risen sweet rolls, one half done up with cinnamon, the other sticky-sweet orange rolls, that took about five hours from bowl to plate.

IMG_0463

I escaped the whole "scary scary yeast" issue by being a teenager ignorant of the complications and stress yeast can bring to a baking party-- rapid rise? Active dry? Those big yeast-cake things? Proofing? Kneading? Rising? Punching?

But I didn't know any of that. I just followed the direction in my big orange Betty Crocker, mixed some dough, kneaded it with tentative glee, and curiously watched it puff to twice its size as it sat on my kitchen counter for a few hours and did its work.

IMG_0466

Long story short, I love yeast. We're buddies. I've learned a lot more since then, and my baking's improved because of it, but I still get a quiet joy in pushing and stretching my knuckles into dough as I knead, and coming back a few hours later to a transformed, risen bowl of yeasty-aroma-ed dough.

IMG_0442

The first Betty Crocker recipe was a good jumping-off point for me, and her sweet rolls are admittedly tasty, but I've continued to search since then for better and better ones. Right now I'm stuck on AB's recipe, which enriches the dough with a hefty dose of egg yolks and buttermilk. I'd advise making your rolls bigger than these, and perhaps less thinly-rolled, because one of the selling points of this recipe is the puffy, delicious soft dough. However, I've a housemate who's a cinnamon fiend (and I'm not much better myself, though she puts all cinnamon fiends to shame with her love and devotion) so I figured that thinner dough meant more cinnamon per roll and in our apartment that can only be a good thing.

Cinnamon Rolls
Adapted from Alton Brown's Cinnamon Rolls

4 large egg yolks
1 large whole egg
1/4 C sugar
6 Tb salted butter, mostly melted
3/4 C buttermilk
4 C all-purpose flour
1 package instant dry yeast, approximately 2 1/4 teaspoons
a pinch of salt
Vegetable oil or cooking spray

8 ounces light brown sugar, approximately 1 cup packed
1 tablespoon ground cinnamon
Pinch salt
3/4-ounce unsalted butter, melted, approximately 1 1/2 tablespoons

In a stand mixer, beat the eggs, sugar, melted butter, buttermilk together. With the mixer on the lowest speed, dump in the yeast and salt, and then slowly knock in about 2 C of the flour. Let that mix in until incorporated; then keep knocking in more and more flour, until the dough is not wet.

IMG_0428

Switch out the stand mixer's paddle for the dough hook. Continue beating it and adding little bits of flour at a time. Let the dough hook run for about ten minutes. Then, remove the dough from the bowl (which should have been wiped clean rather well by the circling dough), toss a little flour into the bottom and along the sides, then put the dough back in. Dust it's top with a little flour and let it sit for about an hour or until doubled in size (how warm your kitchen is will affect how fast it rises).

An hour or two later...

IMG_0436

Set up your rolling station: the biggest cutting board you've got (as you can see, mine is quite small at the moment), a rolling pin (or a glass), a bowl of melted butter (I used about six tablespoons), a bowl of brown sugar and cinnamon in about a 2:1 ratio (less, if you're not a crazy cinnamon kid), something to brush the butter with, some flour to sprinkle the board with between batches of dough.

Now, take a big handful of dough (for this size cutting board, I rolled the dough out in five batches; with a more properly sized board I would have rolled it out in two).

IMG_0437

Put it on the floured cutting board and roll it out to the thinness of an eighth of an inch or so.

IMG_0438

Brush the dough with butter and sprinkle brown sugar/cinnamon over it in a thick layer.

IMG_0439

Roll it up and pinch the end of the dough into the roll to seal it shut.

IMG_0440

Carefully slice the log into disks about an inch in height.

IMG_0441

Place them into a buttered circular pan (mine filled up about three). The edges can be just barely touching or a little apart.

IMG_0444

Let rise another hour or two;

(Another good thing to do here is the stick them in the fridge. The next morning, put the chilled pans in a cold oven next to a dish of boiling water. Let them sit and steam for a half hour (to wake the yeast), then remove them from the oven and preheat it to 350. Bake for a half hour, frost, and devour).

But if you plan to bake them that night: then about an hour later, preheat your oven to 350, bake the rolls for a half hour, frost (see below) and devour.

IMG_0453

Frosting:
2 C powdered sugar
3 Tb butter
2 Tb milk
2 Tsp vanilla
1 tsp cinnamon
Beat until smooth. If too thick, add milk. If too thin, add butter and more sugar. Spoon over hot cinnamon buns.

IMG_0455

spiced golden beet soup

IMG_0478

This was dinner on our first rainy day of autumn. I had some golden beets a bit too soft for a straight roasting, and a hankering for a steaming bowl of soup. This quite fit the bill: creamy and rich from the yogurt, earthy and deep from the beets (oh, beets, how I love thee when you are done properly), and spiced with garlic and a hint of the sort of spices found in curry.

IMG_0473

The pomegranate juice and tumeric spice up the flavor a little bit; they also make for a more vibrant color (the pictures aren't doing it justice).

And, oh, you can't smell the garlic and warm earthy tones rising with the curling steam above the pot, can you? No wonder you're not running for the grocery store right now to grab some golden beets. Maybe you should fix that.

IMG_0479

Golden beet soup

1 onion
1 seeded jalapeno
2 Tb butter
10 cloves garlic, minced
3 golden beets, cubed
1 tsp garam masala
pepper
salt
5 leaves basil, chopped
1 tsp tumeric
1/4 C pomegranate juice
1 C milk
1/2 C yogurt

Brown the onion, jalapeno, and garlic in the butter for 5-10 minutes, then add the beats and (stirring often) cook until soft (about 30 minutes).

Add the spices. Stir. Then add the pomegranate juice and let it reduce down for two minutes. Add the yogurt and milk and blend using an immersion blender, or with a stand blender or food processor.

Add more spices or dairy as to your liking. Serve warm with crusty bread for dipping.

Thursday, October 6, 2011

beet raviolis with garlic, tomatoes, and spinach

IMG_0433

I love beets. I've said it before. I'll surely repeat it in the future. They're awesome, you see, with their earthy flavor, affinity for goat cheese, and brilliant color that makes your cutting board look like you've murdered something on it.

IMG_0434 - Copy

Ravioli are a great use for these, because the purple color shows through the dough and that's rather fun. Also, well, they're delicious.

The dough is simple, and the filling is just grilled onions and garlic, beets, and spices. The ravioli, once made (but not cooked), freeze well. I froze them for 3 days and then we ate them with sauteed garlic, tomatoes, and spinach in olive oil.

IMG_0432

Beet Raviolis


IMG_0403

pasta
adapted from http://smittenkitchen.com/2007/01/artichoke-gaga/
2 cups all-purpose flour
3 large eggs
1/2 teaspoon salt
3 tablespoons olive oil

Make the filling first-- see below.

In a food processor, mix all of the ingredients with the blade attachment. It should stick all together into a soft, slightly sticky ball.

Get a cutting board and sprinkle it generously with flour. Set all this aside.

filling
2 beets
1 onion
3 cloves garlic
1 Tb butter
6 oz apple juice
salt and pepper
1/4 tsp ground coriander
1/4 tsp fennel seeds
1/2 C goat cheese (or more)

Slice onion thinly and brown it in the butter; after it's cooked for about fifteen minutes, add the garlic. Garlic takes much less time to brown than onions (think one or two minutes) and when it's burnt it's terrible, so be wary.

Meanwhile, grate the beets (I used a food processor, which is much much easier). Once the onion is brown, add the beets and apple juice to the pan and reduce the apple juice down to a syrup. This should take fifteen or twenty minutes. Remove the beets and onion mixture to a bowl to cool.

When cool, add the goat cheese and stir.

construction

IMG_0402

On a floured cutting board, roll out a chunk of dough thinly. (Yes, we (actually, that's my awesome roommate) rolled them out with an empty bottle).

IMG_0404

Slice into quarters and place a small spoonful of beets/goat cheese on the dough.

IMG_0406

Fold the dough over the beets and seal the edges. Try not to trap any big air bubbles in the ravioli.

To cook immediately:
Bring a pot (water with a dash each of oil and salt) to boil while you roll out the pasta. Drop the ravioli into the water and let cook for 3-5 minutes. They ought to float when done, but no promises. Slip one out of the water and slice a little pasta off the edge to taste for doneness.

To store:
Place the ravioli on a foil-lined cookie sheet. Do not allow the ravioli to touch each other. When you have a filled cookie sheet, move it the freezer for a half and hour (longer is better). When the ravioli are frozen, move them to a plastic bag and return to the freezer.

Friday, September 30, 2011

blueberry and cinnamon muffins

IMG_0385

Again, this is from Alton Brown's "Old School" Muffins. It's such a lovely recipe; the muffins are soft, sweet, moist, and have a thick crumb suitable for a big breakfast muffin. Largely I think it's the yogurt's fault.

IMG_0396

These were filled with blueberries donated by my apartment-mate the Barefoot Zombie. The extra cinnamon was then added in her honor, because she is a cinnamon fiend.


Blueberry Muffins
Adapted from Alton Brown's "Old-School Muffins"
Makes twelve (260 calorie/30 carb) muffins
2 1/2 C flour
2 tsp baking powder
1 tsp baking soda
2 tsp cinnamon
a pinch of salt

1/2 C sugar
1/2 C butter
1 egg plus one egg yolk
1 C plain yogurt
2 Tb buttermilk

struesel
1/4 C brown sugar
1/3 C flour
1 Tb cinnamon
3 Tb butter

IMG_0397

Preheat your oven to 375. Line your favorite muffin tin with paper cups or grease them. (I'm a lazy cleaner; I use my paper cups).

Good bakers weigh their dry ingredients and sift them (or run them through a food processor; you achieve the same effect as sifting). I'm a lazy baker. But, hey, if you aren't? Take those dry goods (that would be the flour, the baking powder and soda, and the salt) and sift them into a separate bowl. Good job. I applaud you and your soul, which is a better one than mine.

IMG_0389

Next, beat the sugar, shortening, eggs, yogurt, sour cream, and half n' half together for a few minutes. When you get bored of watching it spin around (or, if you've a hand mixer, when your arm gets tired) and everything seems incorportated, turn off the mixer. Dump the dry good (sifted and mixed... or not) straight on top. Mix on a low speed for a few seconds, or until everything is just barely incorporated. It's OK to have some dry flour hanging about. Overmixing muffins is a serious sin, folks. It kills the tenderness. Just stir until everything barely hangs together.

This is very stiff, thick batter; it's almost more like a sticky dough. Don't worry about it.

IMG_0383

Fold the blueberries into the batter. Don't mix too much; just fold it a few times and let it be.

Now, spoon your stiff dough into 12 muffin cups. The cups should be full. I know this goes against all "fill-it-2/3-of-the-way-up" muffin logic we've been taught, but it works with this batter.

In a separate bowl, now, mix the struesel ingredients. I like smooshing them with a fork or a sturdy whisk. When it's crumbly enough to sprinkle, you're down. If it feels very moist and forms balls bigger than a pea, toss in a Tb or two of flour. Sprinkle on top of the muffins.

Bake for 18-20 minutes or until a toothpick comes out dry.

Remove from the muffin pan immediately to keep the bottoms from going soggy.

IMG_0391
Let cool for as long as you can stand the gently wafting aroma of baked brown sugar and cinnamon. Then, yeah, you can eat them.

Wednesday, September 28, 2011

spicy vegetarian enchiladas with summer and winter squash

IMG_0421

This was spicier than I expected it to be, except that's a bit silly, as I doubled the chiles in it. It was a delicious sort of spice, though; I recommend it. Just keep a lot of guacamole and sour cream handy.

IMG_0427

If you don't like things very spicy, I would add only one can of chipoltes. If you don't like spice at all, I'd add none.

IMG_0424

Squash Enchiladas
adapted from http://homesicktexan.blogspot.com/2010/07/summer-squash-enchiladas.html

enchilada sauce:
2 cans of chipotle chile (oz?)
2 teaspoons of oil, divided
4 cloves garlic, chopped
1 small yellow onion, diced
1 6-oz. tomato paste
1 1/2 C water
1 teaspoon cumin
Salt and black pepper to taste

Brown the onions in butter for ten minutes and then the garlic for one, then blend everything in a food processor. Set aside.

IMG_0408

For the filling:
1 tablespoon vegetable oil
2 small yellow onions, diced
4 cloves garlic, minced
1 yellow squash, diced
1 small winter squash (I used delicatto)
1/4 cup cilantro, chopped
Salt and pepper

IMG_0409

For the enchiladas:
7 flour tortillas
1 1/2 cups shredded cheese (Jack, cheddar, or one of the "four blend Mexican" bags)

Microwave the winter squash for 3 minutes. When it is soft, let it cool for a little bit, then unwrap the plastic wrap. Spoon out the flesh of the squash and discard the skin.

IMG_0407

Meanwhile, slice the onion thinly and brown in 1 Tb butter. After about fifteen minutes (when the onions are tastily brown), add the garlic and the summer squash. Cook down, then add the microwaved squash.

Add the cilantro and remove from heat.

Pour some sauce into the bottom of a 9x9 pan. Get out your tortillas. Place a tortilla in the pan and smear a spoonful of sauce on its upper surface.

IMG_0410

Drop a few big spoonfuls of the filling along the center of the tortilla, roll it up, and place it to the edge of the pan.

IMG_0411

IMG_0412

Repeat this with three more tortillas, then ladle a few spoonfuls of sauce on top of each enchilada. Toss 1/2 C of cheese over the top.

IMG_0413

IMG_0414

Make three more enchiladas (sauce the tortillas, shake off the excess sauce, fill, and roll) and place them on top. Pour another 1 C or so of sauce on top (I had extra and greedily saved it for future use) and then top with the remaining cheese.

IMG_0416

Bake at 350 or so for 10 minutes or until warm through and the cheese is bubbling.

IMG_0419